Growing Microgreens: Types, Setup, and What to Do With Them
By Growing Home Greens Team · July 28, 2026
Microgreens are seedlings harvested young, past the sprout stage, once the first true leaves have opened, but weeks before the plant would otherwise mature. That short window is the whole appeal: a full growing cycle in one to three weeks instead of a full season, entirely indoors, with a fraction of the space and equipment a vegetable garden needs.
What counts as a microgreen
Almost any fast-germinating vegetable, herb, or brassica can be grown as a microgreen. It’s a harvest stage, not a specific plant. Broccoli, kale, radish, cabbage, and mustard are the fastest and most forgiving group, typically ready in 7 to 14 days with a peppery-to-mild flavor range depending on the variety. Chard and beet greens grow a bit slower, 10 to 14 days, but bring strong color, especially chard’s red and gold stem varieties, which is part of why they’re a common garnish choice. Cilantro, basil, and sunflower run slower still, 2 to 3 weeks, and are pickier about even moisture, but reward the extra patience with a much stronger, truer flavor than the brassica group.
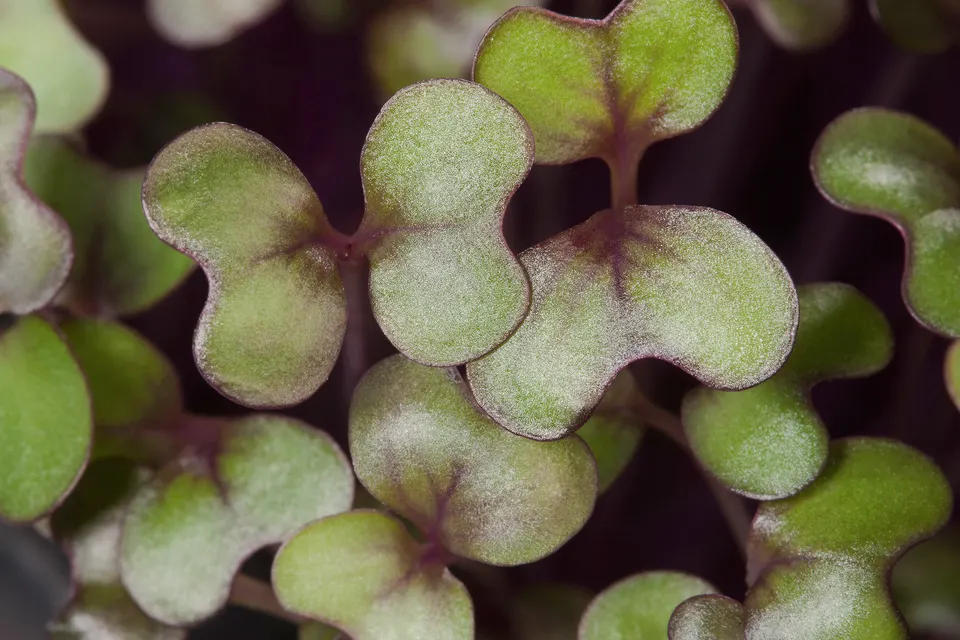 Photo: Peggy Greb, USDA Agricultural Research Service, via Wikimedia Commons, public domain, cropped.
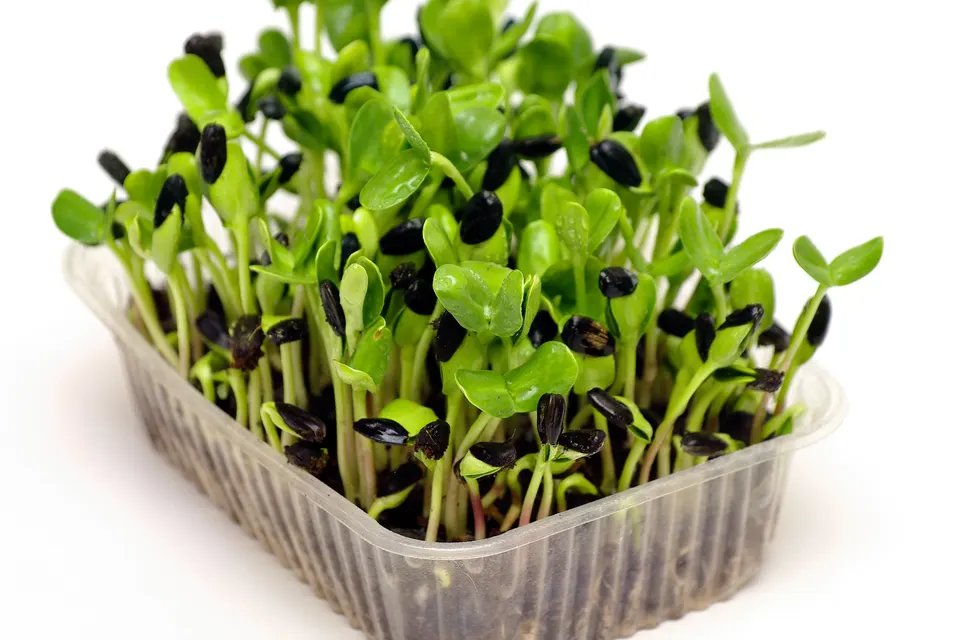 Photo: Pannet via Wikimedia Commons, CC BY 4.0, cropped.
Not every plant is a good microgreens candidate. Some seeds (most nightshades, for instance) aren’t commonly grown this way, either for flavor, texture, or in a few cases food-safety reasons specific to eating the plant at that immature stage. Stick to seed specifically sold or commonly recommended for microgreens rather than assuming any seed packet in a garden collection works.
How to grow them
The process is the same regardless of variety: fill a shallow tray with an inch or so of light seed-starting mix, sow seed thickly and evenly across the whole surface (not in rows or individual cells the way transplant seedlings are started, a solid, cell-free tray is the right equipment here), mist to moisten without waterlogging, and cover briefly to hold humidity during germination the same way a humidity dome does for regular seed starting. Once seeds sprout, remove the cover and get the tray under light immediately, the same principle covered in starting seeds indoors applies here: seedlings that sit without light stretch thin and pale, and that legginess doesn’t reverse.
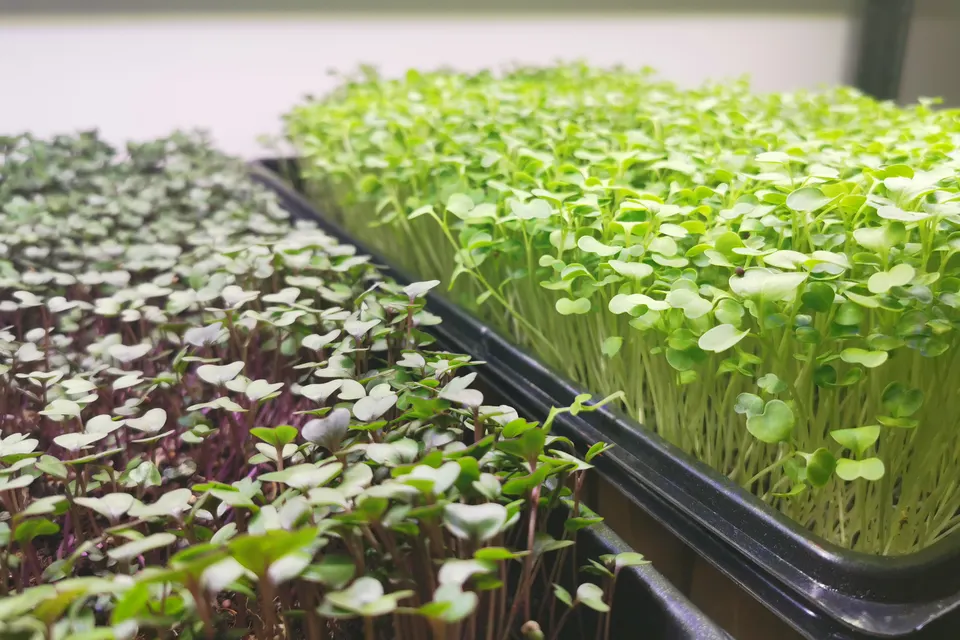 Photo: Teogenesis via Wikimedia Commons, CC BY-SA 4.0, cropped.
Water from the bottom where possible (set the tray in a shallow water bath briefly rather than watering overhead) to avoid wetting the leaves and stems directly, which invites mold in a tray this densely planted. Harvest by cutting at soil level with scissors once the first true leaves are fully open. There’s no regrowth after cutting, so a continuous supply means starting a new tray every few days rather than expecting one tray to produce repeatedly.
Equipment you need
Microgreens need less gear than a full seed-starting setup, but a few of the same tools carry over directly. A shallow, solid-bottom tray with no individual cells is the one piece of equipment specific to microgreens rather than borrowed from regular seed starting. Look for a standard nursery flat with drainage holes, paired with a solid tray underneath for bottom-watering. A humidity dome covers the germination phase exactly as it would for any other seed tray, and a basic LED shop light positioned close, 2 to 3 inches above the tray, takes over once seeds sprout. Microgreens don’t need a specialized grow light any more than regular seedlings do. A small clip fan for airflow once seedlings are up helps prevent the mold and damping-off risk that a dense, moist microgreens tray is especially prone to.
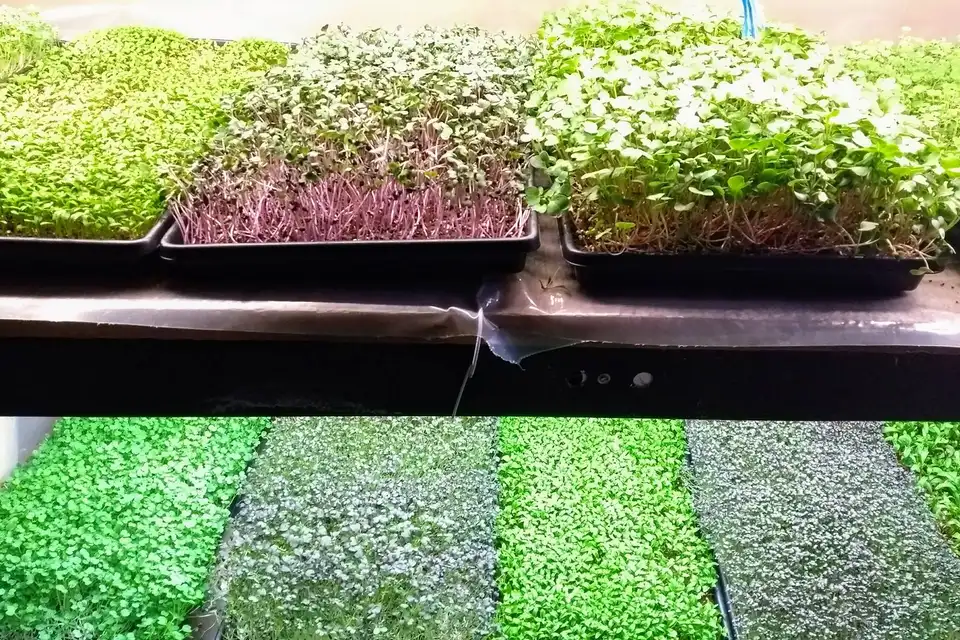 Photo: Idéalités via Wikimedia Commons, CC BY-SA 4.0, cropped.
Nothing here requires a grow tent or heat mat the way a longer seed-starting cycle sometimes does. Microgreens germinate at room temperature and finish before bottom heat would typically matter.
Nutrition and how to use them
Several studies on microgreens (notably research out of the USDA and University of Maryland) have found some varieties carry meaningfully higher concentrations of certain vitamins and antioxidants per gram than the same plant’s mature leaves. Red cabbage and cilantro microgreens showed some of the largest differences in that research. That doesn’t mean microgreens replace a full serving of vegetables (the total quantity eaten is small), but it’s a measured nutritional density difference.
In the kitchen, microgreens are best treated as a fresh, uncooked topping rather than a cooking green. Heat wilts their texture fast and defeats the point of using them at all. Common uses: scattered over eggs, tacos, or avocado toast, folded into a sandwich in place of (or alongside) lettuce, or used as a plating garnish on soups and plated dinners the way a restaurant would. Their concentrated flavor (often sharper or more peppery than the mature plant) means a small handful goes further than the equivalent volume of a regular salad green.
See the growing profile for a brassica pick to start with, and starting seeds indoors for more on the humidity, light, and airflow fundamentals microgreens share with regular seed starting.
As an Amazon Associate we earn from qualifying purchases. Some links on this page also go to other retailers we may earn a commission from as an affiliate, at no extra cost to you. We only recommend products with a clear consensus of positive, independent reviews, or ones we bought and use ourselves. Each item on our gear page says which.

Pin this for later
Growing Microgreens: Types, Setup, and What to Do With Them: A full harvest in one to three weeks, indoors, with almost none of the equipment a full vegetable garden needs.
Save to Pinterest